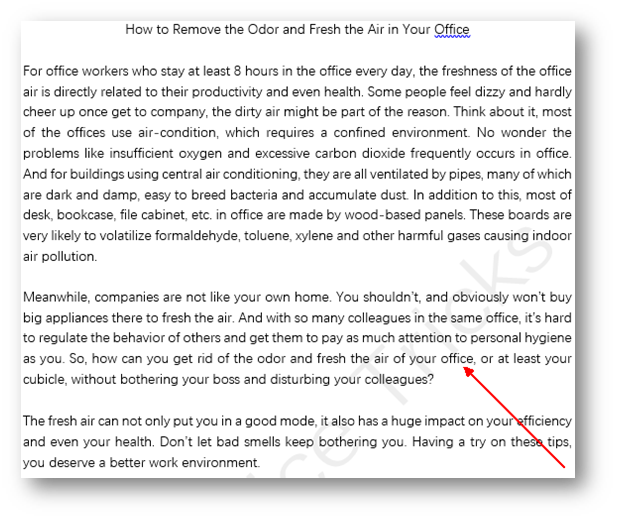
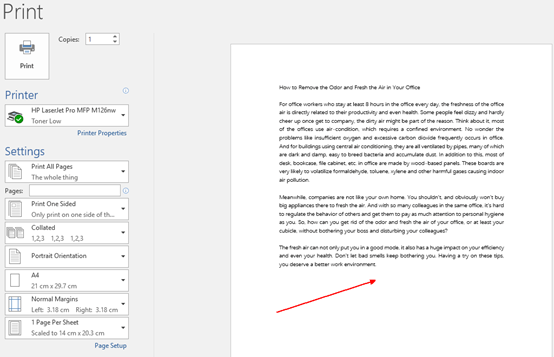
In previous post, we have shown you how to add and remove a watermark in word document, but you may find that the watermark together with color and images cannot be printed out with the document even if it looks fine from the edit page. To solve this problem, you should modify the default setting at first.


1. Go to File tab at top left.

2. Click Options at bottom left.

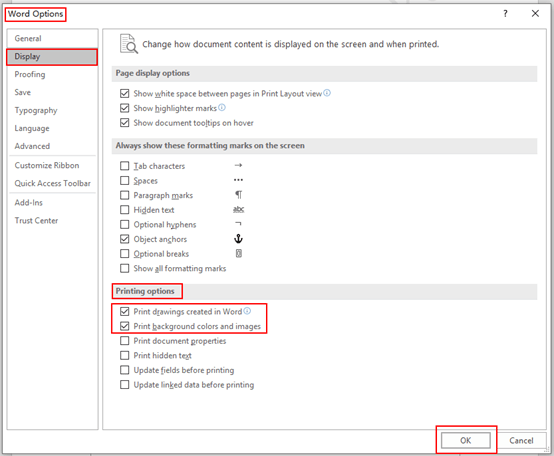
3. The Word Options dialog box will appear, go to Display tab, and find Printing options section.
4. Check the boxes of Print drawing created in Word and Print background colors and images. Then hit OK at bottom right. You can now print the document with the watermark.
Note: Print drawings created in Word means that turn off this option to print the document without any graphics or floating text boxes, and a blank box will be printed in the place of each graphic.


Leave a Reply