You can use built-in magnifier to temporarily enlarge a portion of the screen in Windows 10, It can run in full screen, in a separate window, or as a lens that follows your mouse pointer around the screen. So how can we use magnifier? Here’s a simple guide.
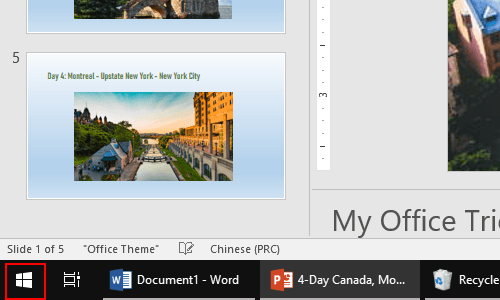
1. Click Start icon at the bottom left of the screen.
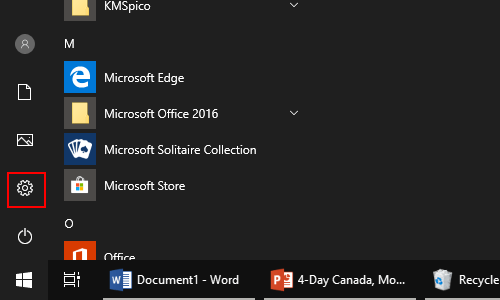
2. Next, click Settings icon in the pop-up window.
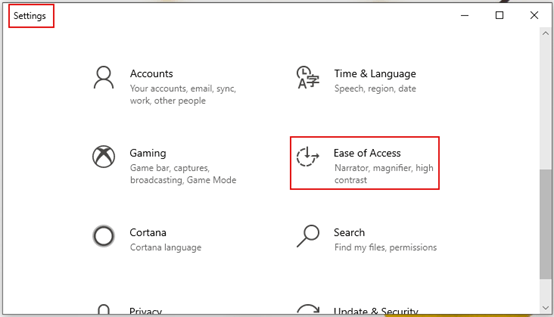
3. The Windows Settings dialog box will display, then click Ease of Access icon.
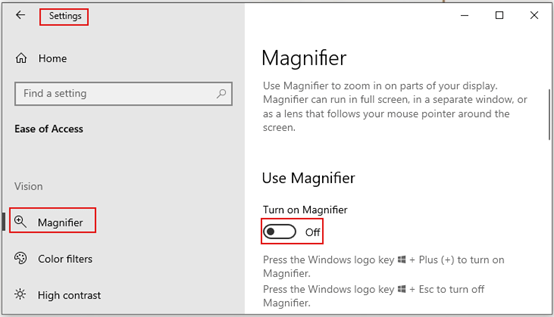
4. Another window of Settings appears, scroll down and click Magnifier in the left pane. Then go to the right pane, turn on magnifier switch, and use it to zoom in on parts of your display. Press [Win] + [+] on your keyboard to turn on magnifier, and press the [Win] + [Esc] to turn off magnifier.
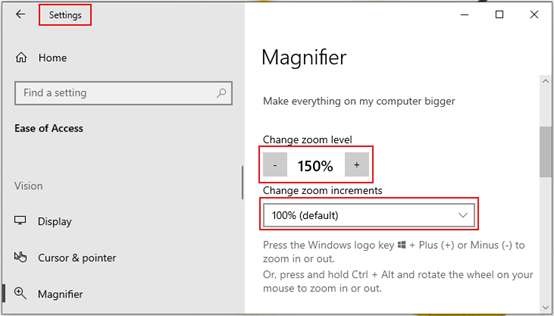
5. You could change zoom level by clicking plus (+) or minus (-) on either side of the percentage, and the zoom increments can also be changed by selecting the options in the drop-down list, which is 100% by default. Press [Win] + [+] on your keyboard to zoom in or out. Or, press and hold [Ctrl] + [Alt] and rotate the wheel on your mouse to zoom in or out.
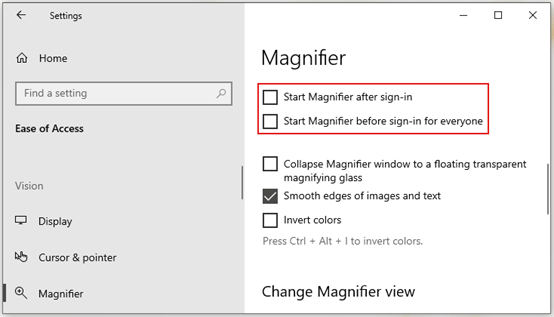
6. Scroll down and you can choose to check the boxes of Start Magnifier after sign-in and Start Magnifier before sign-in for everyone.

Leave a Reply