If you want to create a lined paper in Microsoft Word and print it out for some special requirements, you actually don’t need to download the template from Internet or draw the line by yourself. Just imagine the lined paper is a one-column table without vertical borders, the method is quite self-explanatory now.
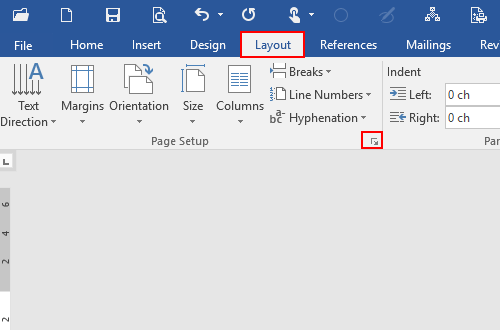
1. First, you can adjust the paper margins in Layout tab. Hit the small arrow on the bottom-right corner or Page Setup section to evoke the setting window.
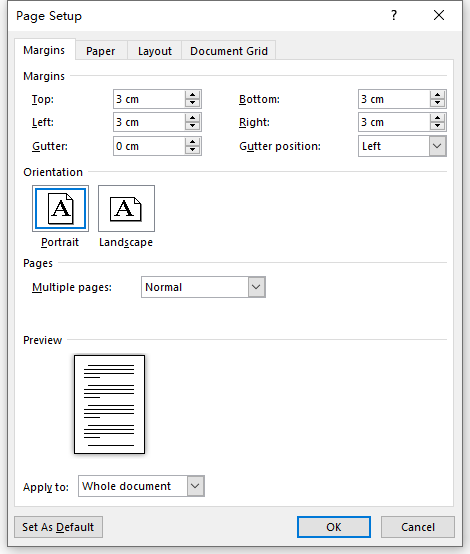
2. Change the value of Margins according to your actual needs. Then hit OK to confirm it.
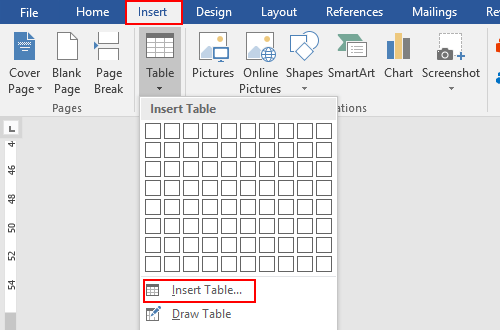
3. Go to Insert tab, click the button of Tables and choose Insert Table… in the menu.
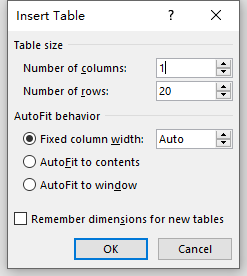
4. Change Number of columns to 1 in Table size, and then you can customize the Number of rows freely. Here I enter 20 as an example.
5. Click OK and the table will be inserted. Right-click the archer button on the top-left corner of it to choose Table Properties… in the menu.
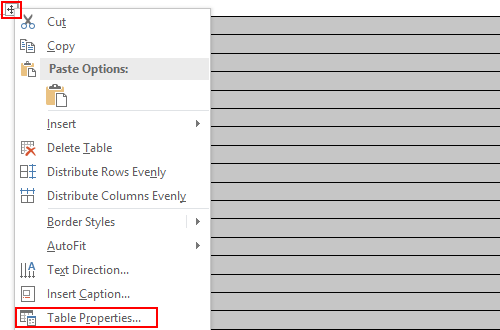
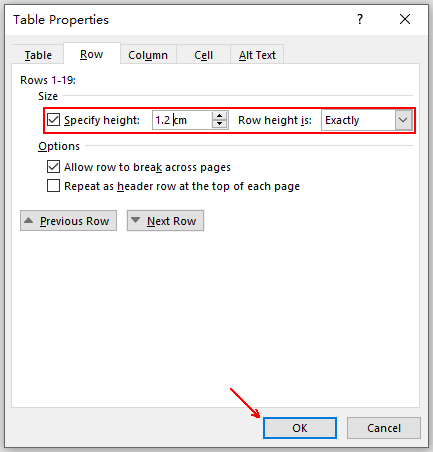
6. Switch to Row tab, customize the Specify height as you like and set Row height is to Exactly.
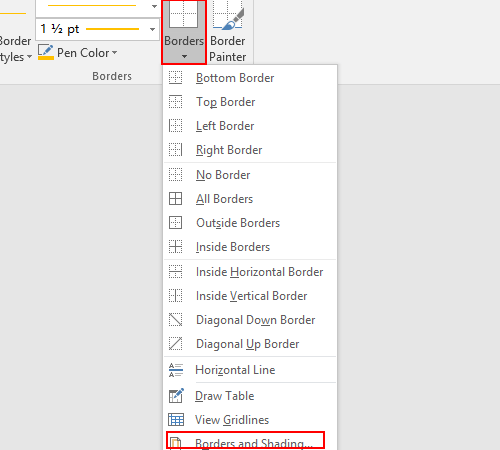
7. Then click the table and go to Design tab under Table Tools. Hit the small arrow under Borders to expand the menu. Choose Borders and Shading at the bottom.
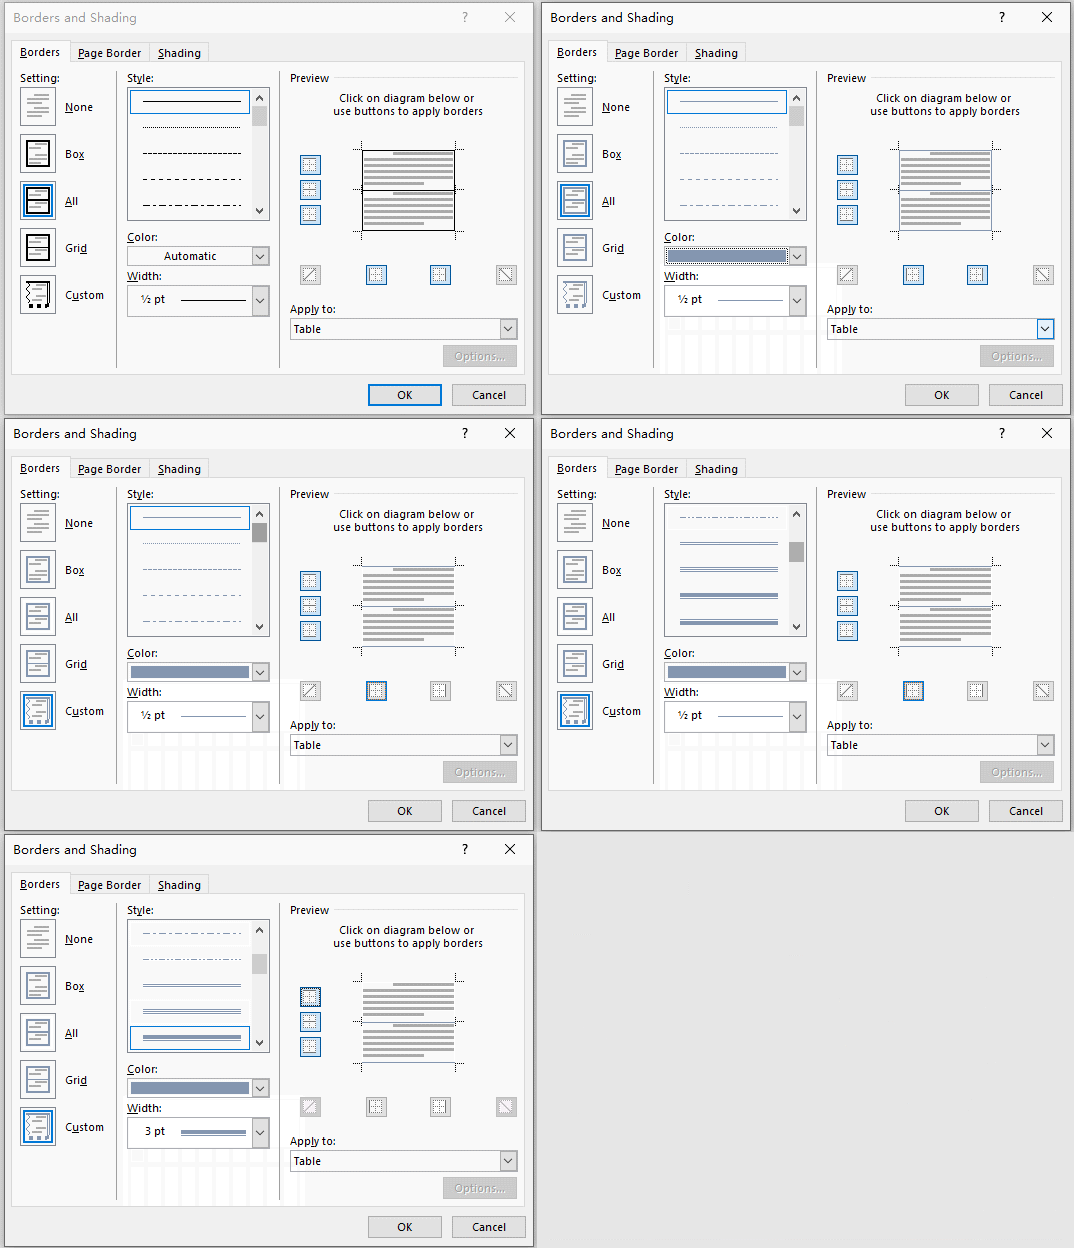
8. Follow the steps in the GIF below to disable the vertical borders, and set the Style and Color for the horizontal borders. Then hit OK to implement the settings.
9. If you want it more like a letter paper, you can add a header and a footer to the page as well.
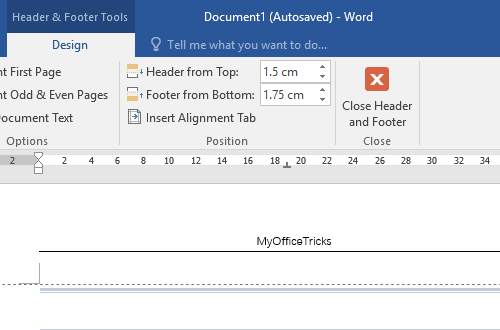
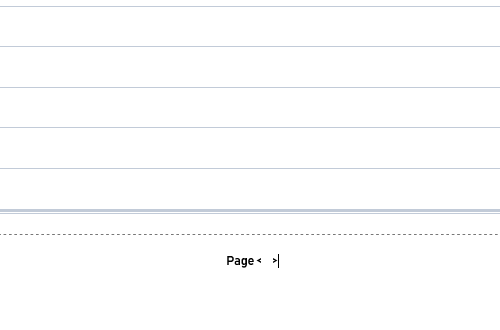
10. You can also remove the horizontal line in page header to make the paper looks more concise. Thus a lined paper is ready. You can print it out and then write on it.
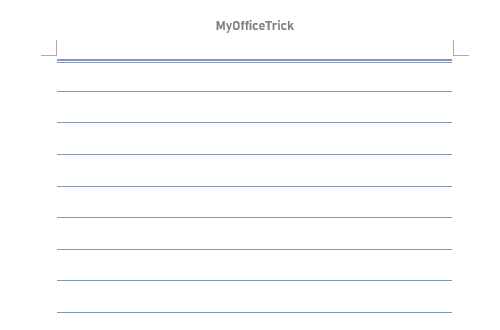

[…] To create your lined paper template and edit it as much as you want, you can use Microsoft Word’s tables. We’ve created a template for you so you don’t have to start from scratch (the process does take a few minutes but you can edit our template below right away). If you are interested in reviewing the full process to create A4 lined template in Microsoft Word, we recommend viewing this page on myofficetricks.com. […]
Hi,
Thanks for the quick tutorial. I didn’t even realize that it was this simple!
You saved me a bit of searching for templates that others have created.
What’s usually a standard spacing? About 1 cm?
Keep up the good work.
Matt
I’m so happy to be able to help you! and thank you for your support~
[…] Download Tags: avery template 5366, download avery template […]
Hello! Do you use Twitter? I’d like to follow you if that would be okay.
I’m absolutely enjoying your blog and look forward to new updates.