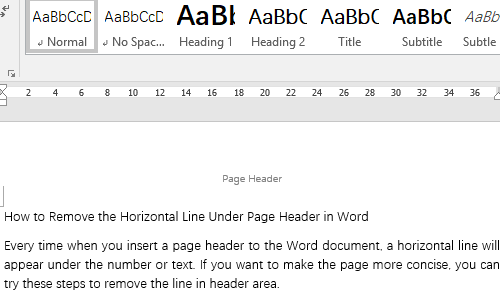
Every time when you insert a page header to the Word document, a horizontal line will appear under the number or text. If you want to make the page more concise, you can try these steps to remove the line in header area.
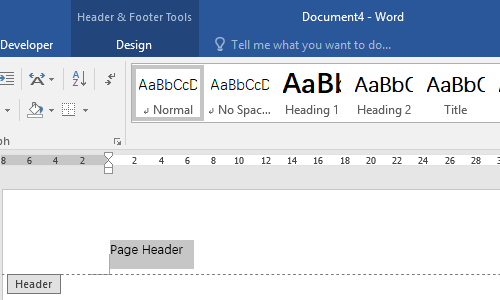
1. Double click the header area to activate the Hear & Footer Tools in Design tab.
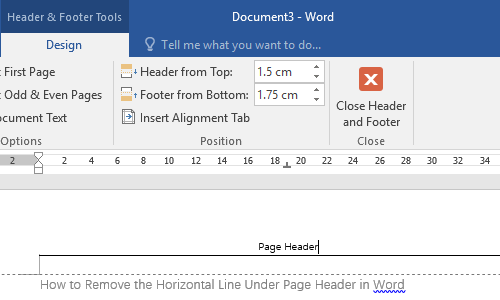
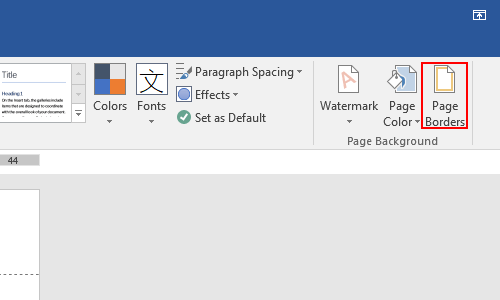
2. Go to Design tab, click Page Borders on the right.
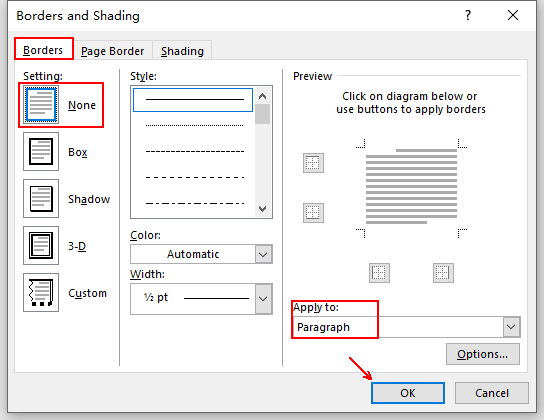
3. Switch to Borders tab, choose None in Setting, and Apply to Paragraph. Then hit OK to implement it.
4. Go back to Header & Footer Tools and hit Close Header and Footer.
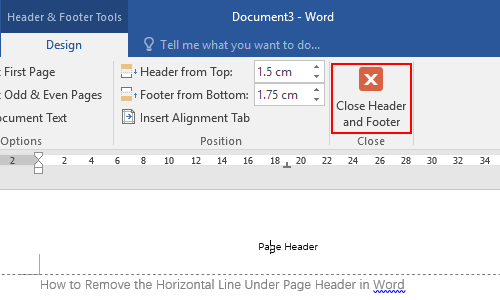
5. Now the horizontal line has gone.
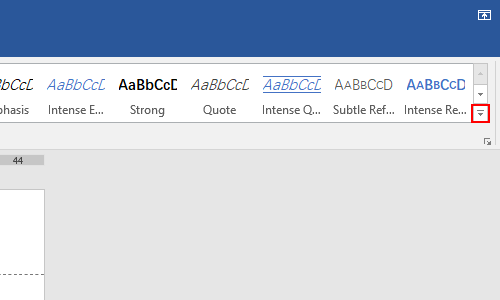
6. You can also double click the header and hit the small down arrow in Styles section of Home tab.
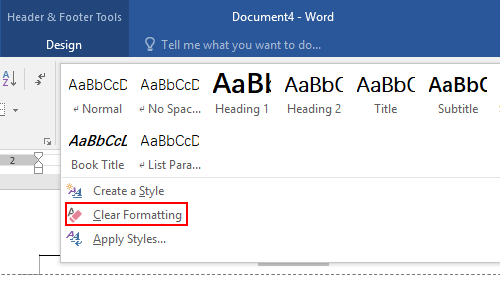
7. Then choose Clear Formatting in the expanded menu.
8. The horizontal line in header area will be removed as well. But other format settings of the header will be cleared at the same time. Please note that when performing this operation.

Leave a Reply