When you are editing with Microsoft Word, this could happen that there are several pages in the single document, but only one of them needs to be displayed in landscape orientation. It might sound complicated, but you can set page landscape with a few simple steps.
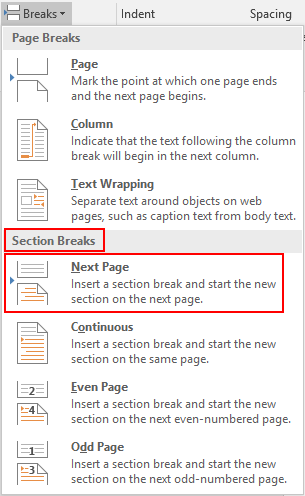
1. Go to Layout tab, find Page Setup group and click Breaks.

2. When drop-down list appears, go to Section Breaks section, find Next Page button, which means insert a section break and start the new section on the next page.

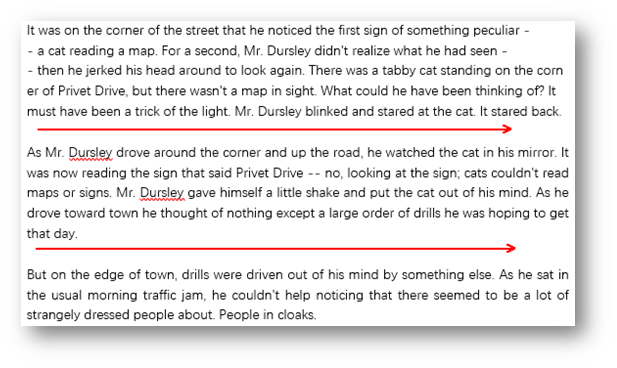
3. Insert section breaks (Next Page button) according to actual needs. Make sure that the content you want to set to landscape has section breaks at the beginning and the end. Here I insert two section breaks as an example.

4. Go to View tab, find Zoom group and click Multiple Pages, the whole document will be divided into three pages accordingly.


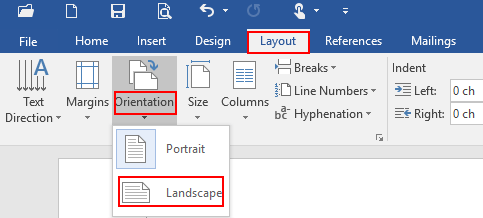
5. Select the specified page, here I choose the second one as an illustration . Go to Layout tab and click Orientation, simply hit Landscape.

6. Now you will see the whole document has been modified as below. The second page has been set to landscape.


Leave a Reply