You can share a printer with several computers, which are connected to your PC, on the network in Windows 10. A shared printer can be used by other users to send print jobs, and they will be visible in the shared network resources of your PC. In this guide, we will show you the simple way to share a printer.
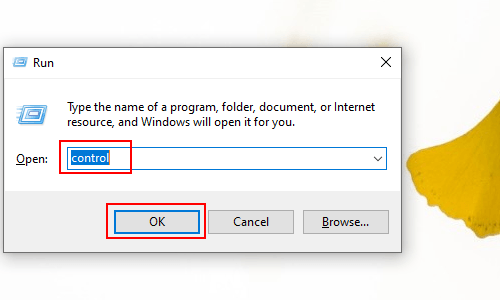
1. Press shortcuts [Win]+[R] on your keyboard to open Run dialog box, next type the command: control and click OK at the bottom.

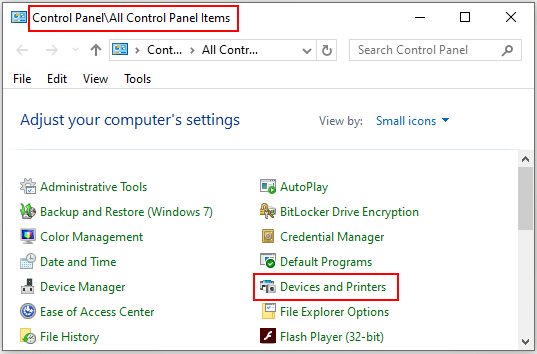
2. Control Panel\All Control Panel Items: choose Small icons in the drop-down list of View by, and then click Device and Printers icon.

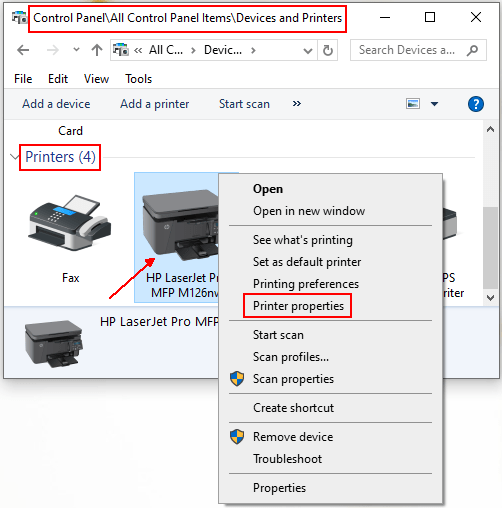
3. Control Panel\All Control Panel Items\Devices and Printers: right-click the printer you prefer and select Printer Properties in the pop-up box.

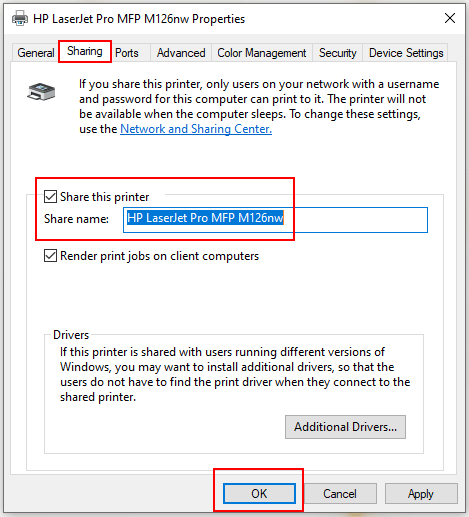
4. When the related Printer properties dialog box appears, go to Sharing tab and check the box of Share this printer, you can also rename the printer in the text box below. Do not forget to click OK to save the settings.
Note: if you share this printer, only users on your network with a username and password for this computer can print to it. The printer will not be available when the computer sleeps.
Note: if this printer is shared with users running different versions of Windows, you may want to install additional drivers, so that the users do not have to find the print driver when they connect to the shared printer.


Leave a Reply