How to Customize and Unify the Date Format in Excel Quickly

Date:2019-9-23 Author:Cordelia

It’s quite troublesome to enter dates into Excel Spreadsheet with a canonical format manually. But if you don’t unify the format, it will affect the operation with formulas in the sheet. Therefore, I’d like to introduce 2 ways to unify the entered data and display them as the customized format.

Method 1: Using Format Cells to Specify the Date Format
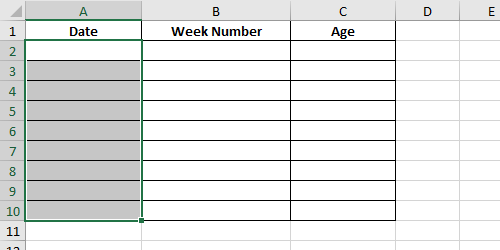
1. First, open the Excel file, select the cells for inputting dates data.

How to Customize and Unify the Date Format in Excel Quickly

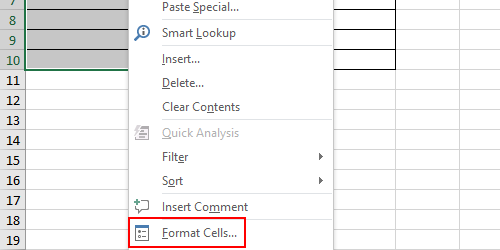
2. Right-click the selected area and choose Format Cells… in the menu.

How to Customize and Unify the Date Format in Excel Quickly

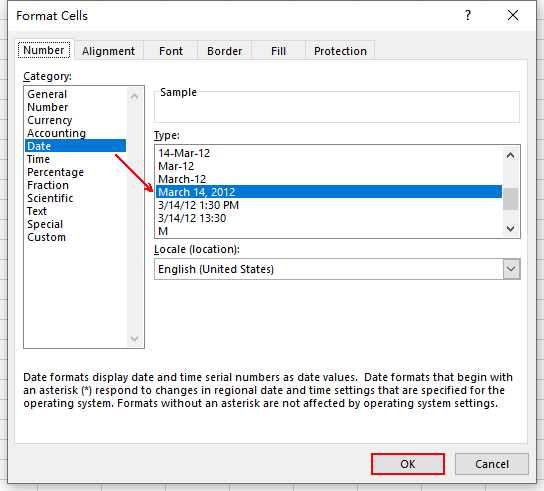
3. Choose Date in Category of Number tab. Select the format you prefer from Type list. Then hit OK to confirm the choice.

How to Customize and Unify the Date Format in Excel Quickly

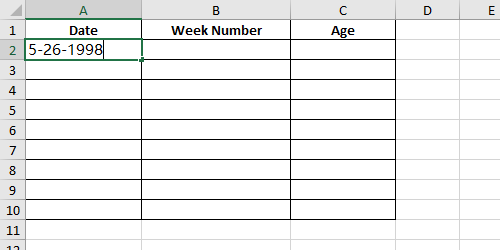
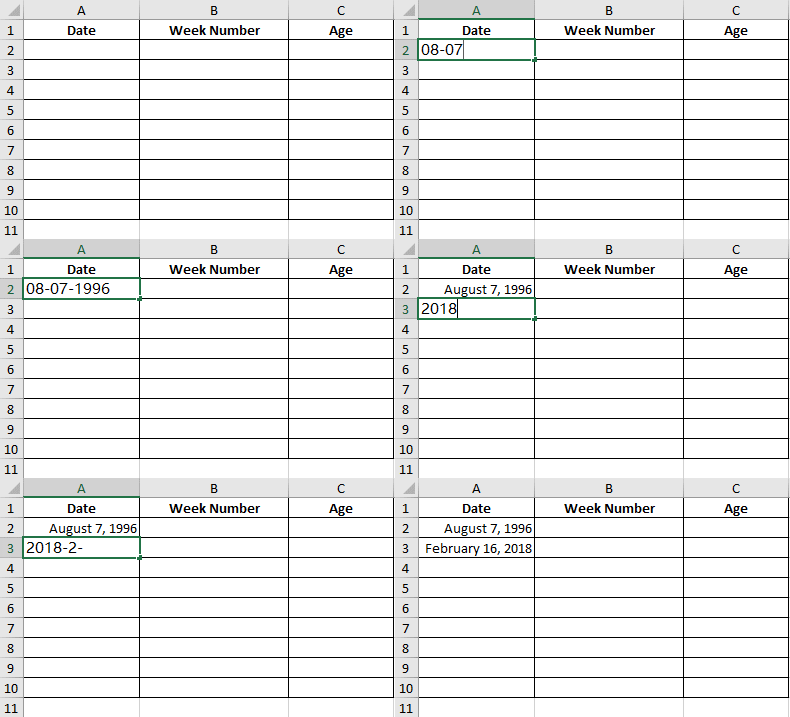
4. Now you can enter a date into the cell and use “-” to separate the numbers of day, month, year.

How to Customize and Unify the Date Format in Excel Quickly

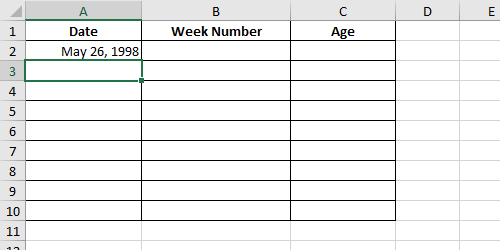
5. Press [Enter] at last and the date will be displayed as the customized format.

How to Customize and Unify the Date Format in Excel Quickly

6. The dates entered with the format of month-day-year and year-month-day can both be converted to the format you customized.
How to Customize and Unify the Date Format in Excel Quickly

Method 2: Using Text to Columns to Unify the Date Format

To standard the format of existing dates in Excel, you can make use of the feature Text to Columns.

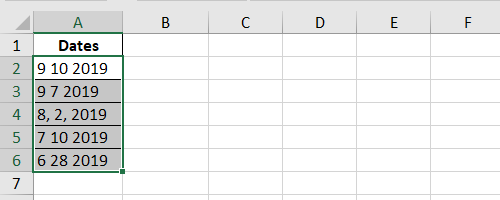
1. First, select the cells with the data of dates.
How to Customize and Unify the Date Format in Excel Quickly

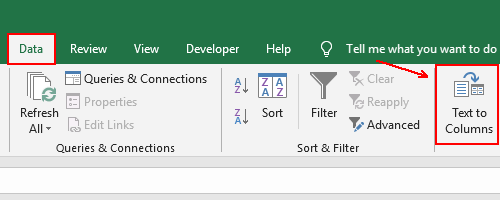
2. Go to Data tab and choose Text to Columns in the Data Tools section.
How to Customize and Unify the Date Format in Excel Quickly

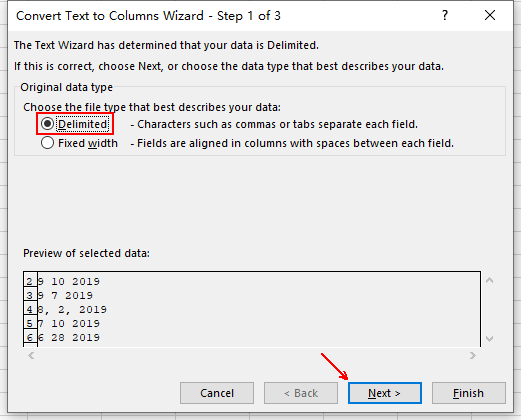
3. Choose Delimited in Original data type. Click Next to continue the process.
How to Customize and Unify the Date Format in Excel Quickly

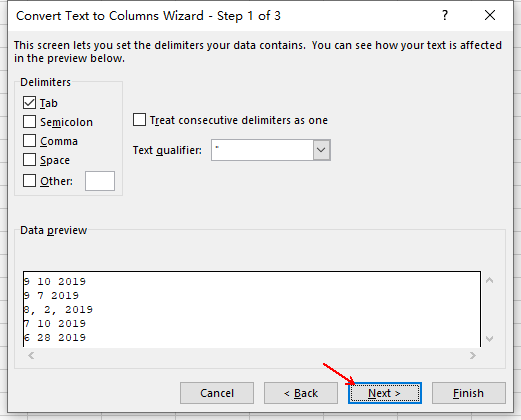
4. Do nothing to this page and hit Next.
How to Customize and Unify the Date Format in Excel Quickly

5.Choose Date as the Column data format, select a date format from the drop-down list.

Hit that small up arrow to specify the Destination for the unified dates manually.

Then click Finish to implement it.

Choose a date format and specify the Destination

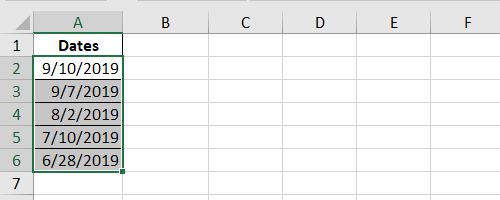
6. In this way, the dates in selected cells will be unified to the format you chose.
How to Customize and Unify the Date Format in Excel Quickly

Copyright Statement: Regarding all of the posts by this website, any copy or use shall get the written permission or authorization from Myofficetricks.

Leave a Reply

Your email address will not be published. Required fields are marked *