If you find the C disk suddenly out of space after updating Windows, the reason may be the Windows,old folder, which contains the old files of the previous version. You can choose to delete it if you have no intention to go back to the previous version, of course. But the truth is you can’t remove it by normal means. Therefore, I’d like to share a tip to effectively delete the Windows.old folder in Windows 10.
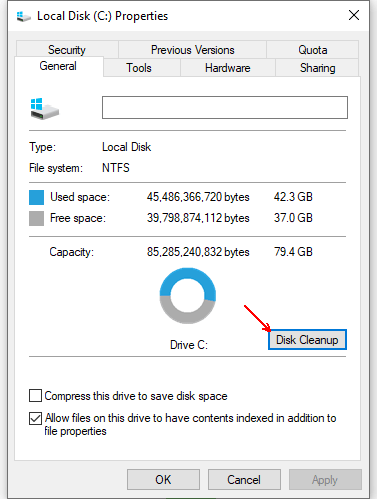
1. Open This PC, right-click Local Disk (C:) and choose Properties in the menu. Then hit Disk Cleanup in General tab.
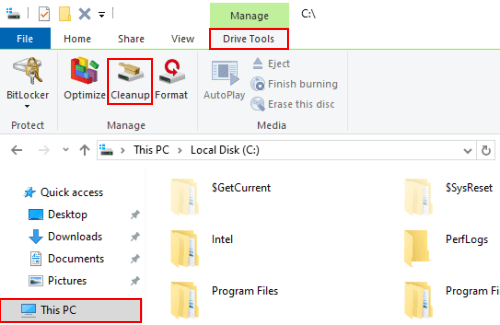
Or you can enter C disk at first, and hit Cleanup button in Drive Tools tab.
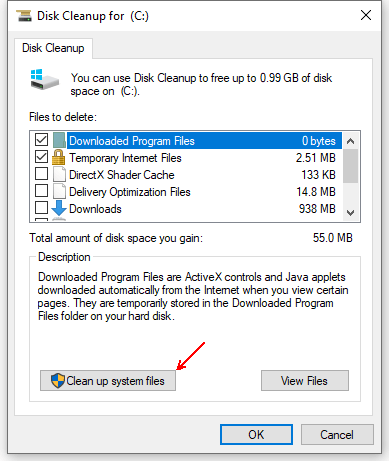
2. Either way you can enter the Disk Cleanup for (C:) window. Click Clean up System files to scan the files to delete. It will calculate how much space you will be able to free.
3. After finish scanning, scroll down to find Previous Windows installation(s) in the list of Files to delete. Check it and hit OK at the bottom.
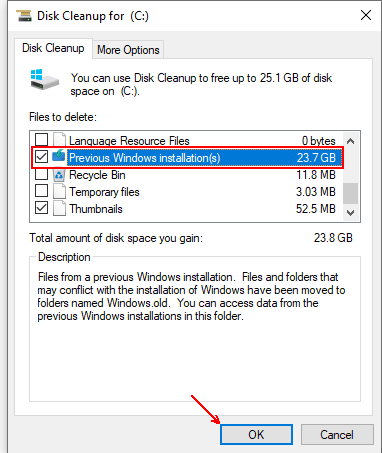
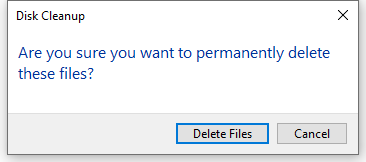
4. If you’ve determined to remove these checked files, just hit Delete Files to delete them permanently.
5. Then you can check your C disk and make sure that your Windows.old folder is no longer exist.

Leave a Reply