To prevent the content in Word document from being peeked or tampered, one effective way is to protect it with password. But if you are afraid of forgetting the password in the long run, it’s also feasible to hide the content temporarily. So, how to hide and show the specific text in Word document?
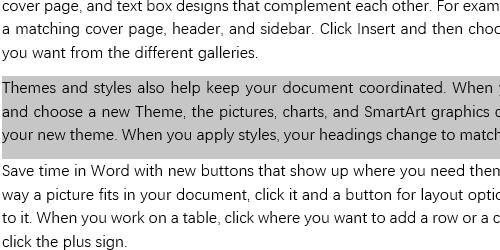
1. First, select the text you want to hide.
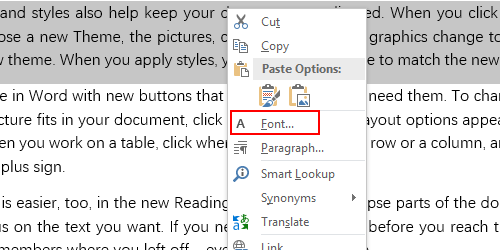
2. Right-click the selected range and choose Font… in the menu.
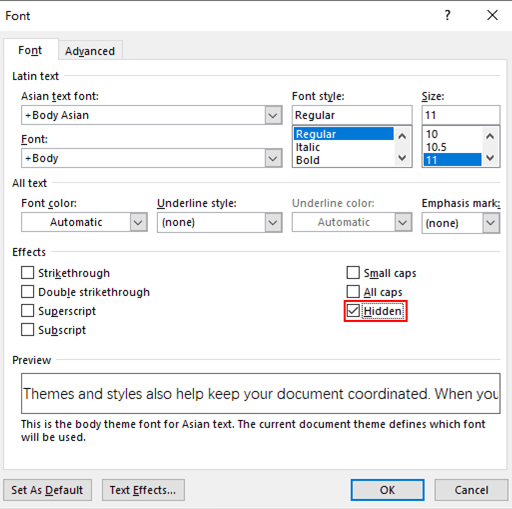
3. Check Hidden in the Effects section of Font window.
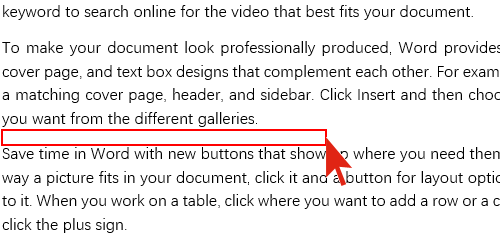
4. Now the selected text has been hidden.
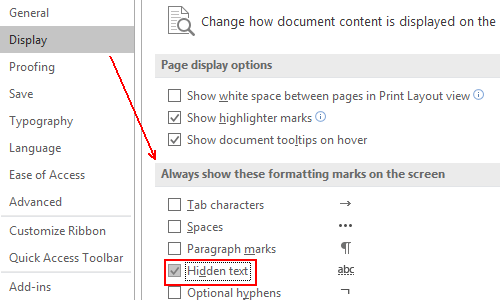
5. If you want to display it again, go to File tab, click Options at the left sidebar.

5. Switch to Display tab in the popping out Word Options window and check Hidden
text in Always show these formatting marks on the screen section.
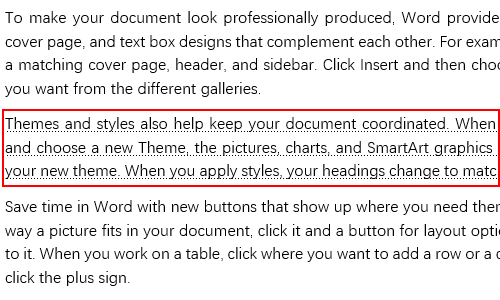
6. Then the hidden text will show again in your document.

Leave a Reply