For an unwanted file on your computer, normally you can right-click it and click Delete in the menu to remove it. But the file deleted in this way is actually moved to the Recycle Bin. It means you didn’t remove it permanently and can still find it back from Recycle Bin easily.
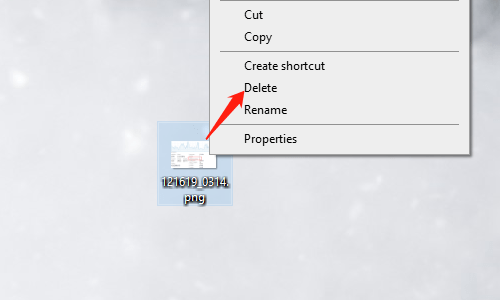
1. If you are very sure that you don’t need it any more, you can select Delete in the right-click menu while pressing [Shift] key.
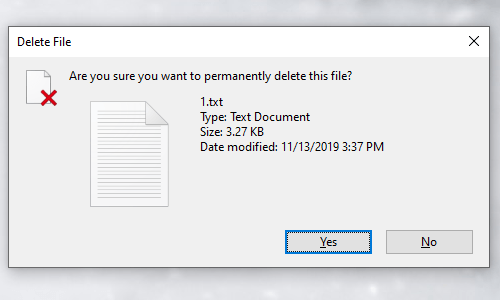
Then the prompt will be Are you sure you want to permanently delete this file?
And if you hit Yes, this file will be completely removed and can’t be recovered by normal means.
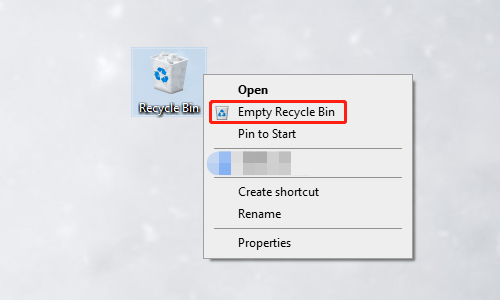
2. Of course, you can move the file to Recycle Bin first, and then right-click Recycle Bin and choose Empty Recycle Bin in the menu.
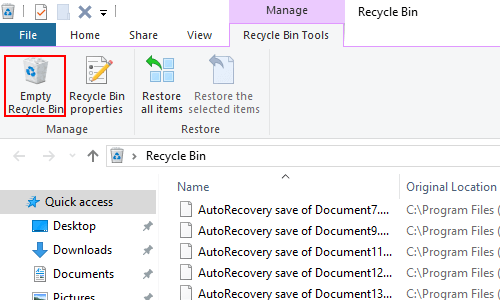
Or open the Recycle Bin and click Empty Recycle Bin button under Recycle Bin Tools tab.
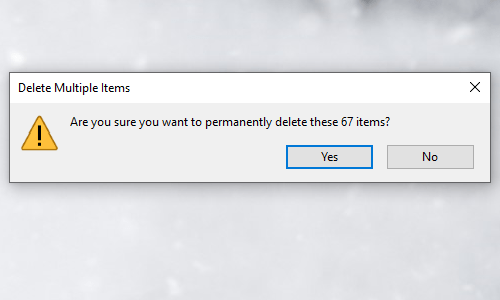
Either way there will be a popping out dialog box asking Are you sure you want to permanently delete these items? If you hit Yes, the existing files in Recycle Bin will be permanently removed.
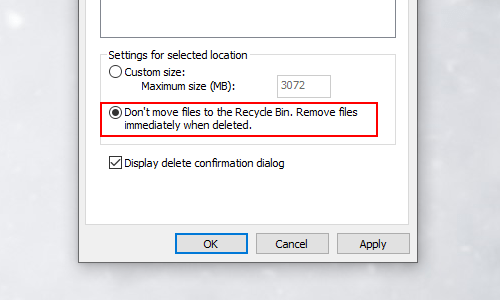
3. Optionally, you can select Properties in the right-click menu of Recycle Bin and check Don’t move files to the Recycle Bin. Remove files immediately when deleted, and click OK to confirm the setting.
Thus the deleted files on your computer won’t be moved to Recycle Bin first but will be immediately and permanently deleted.

Leave a Reply