I’ve shared some experiences about how to add and remove page borders in Word. When it comes to a table, once you insert it in Word, black borders will be automatically added to the whole text. What should we do to remove borders from the table? Just simply follow the steps below.
1. First, go to Insert tab and click the drop down arrow of Table button.
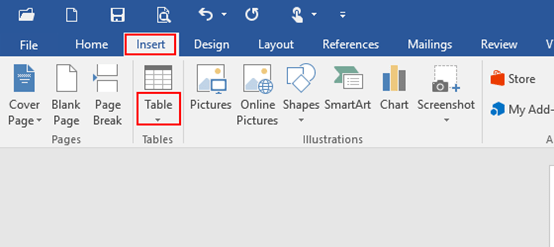
2. Drag the mouse to select the numbers of horizontal and vertical rows.
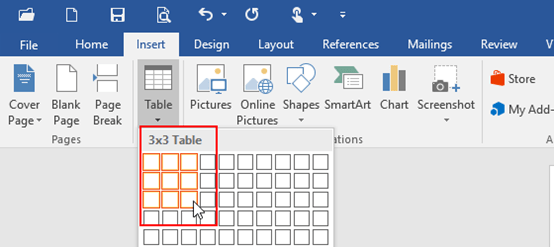
3. When the table is completed, go to Design tab and click the drop down arrow of Borders.
Note: if the table is already in your document, just follow the step above directly.
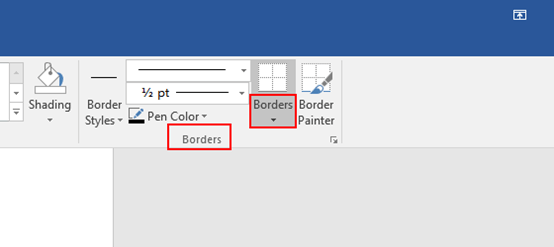
4. Unselect the table and click Outside Borders in the drop-down box.
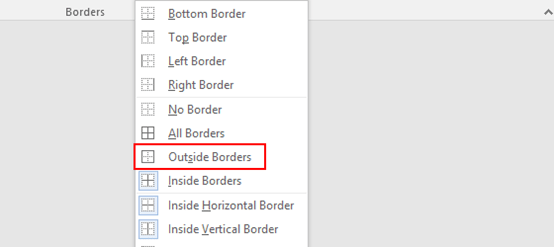
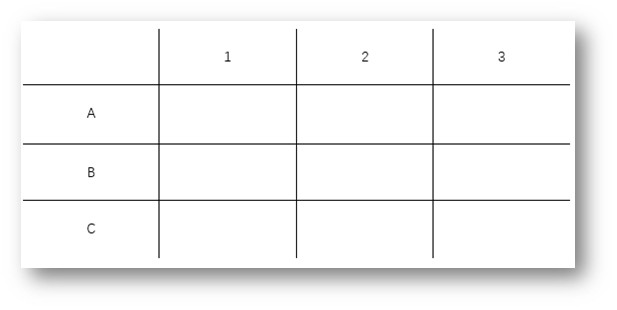
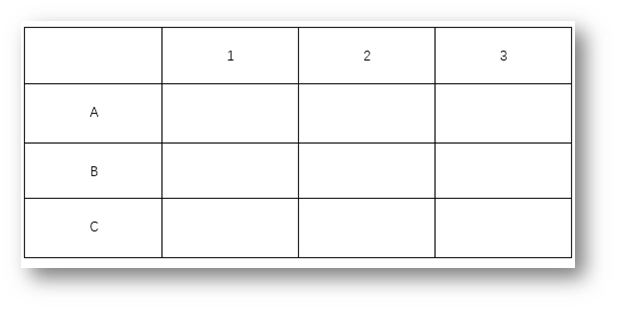
5. Here you can see all borders have been removed, if you want to remain the borders again, just click All Borders.
Note: in addition to these two types, you can also modify the table with Bottom/Top Border, Left/Right Border, No/Inside Border…Just have a try and choose the one you prefer.

I believe this web site contains some real fantastic information for everyone : D.