Sometimes you may not want to print the entire form, is there any method to define the specific print area of your need? Here I’ d like to share the tip of setting and clearing the print area in Excel.
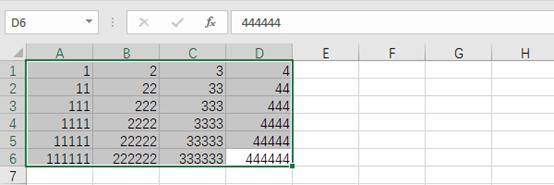
First, select all texts you want to set as the print area.

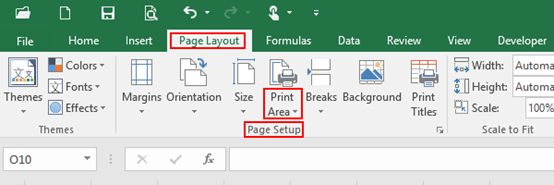
Then, find Page Layout tab, click Print Area in Page Setup section.

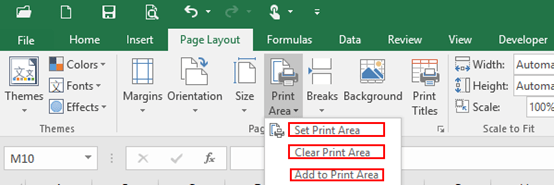
Just click Set Print Area and you are done.
Note: If you want add other texts to the existing print area, simply select them and click Add to Print Area. If you want to remove some texts from the existing print area, select them and click Clear Print Area.

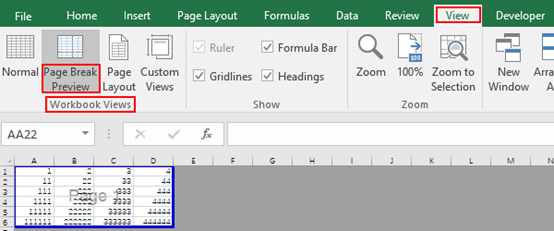
Want to check before printing? You can find View tab, click Page Break Preview in Workbook Views section. What’s framed in blue is the setting up print area.


Leave a Reply