You may want to set the default font and size once for all, because it can help to make your workbooks more readable when they are printed. If you are one of those users, who desire to change the default font and size, and select one that better suits your needs, then this post will interest you.
1. Go to File tab and click it in the Ribbon.
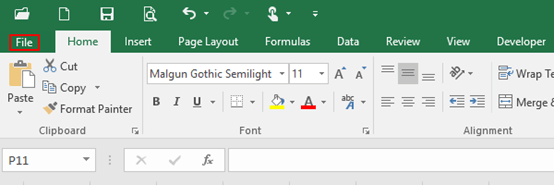
2. Next click Options in the left pane.
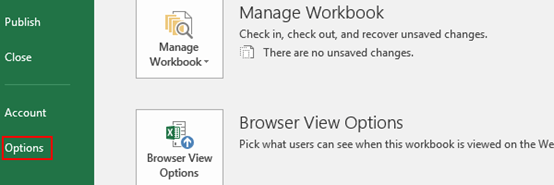
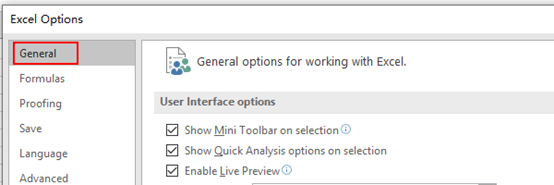
3. The Excel Options dialog box will display, now go to General tab.
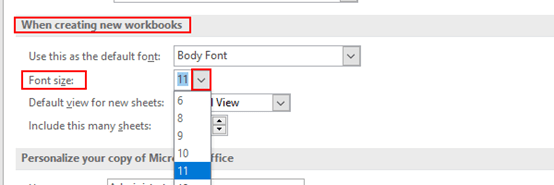
4. When creating new workbooks – hit the arrow of Use this as the default font and select one of the options you prefer in the drop-down list.
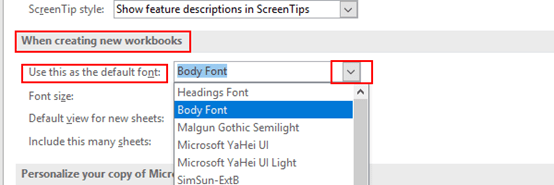
5. After the previous step, set the Font size in the same way.
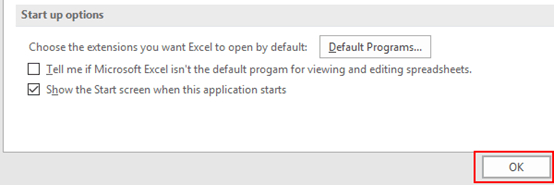
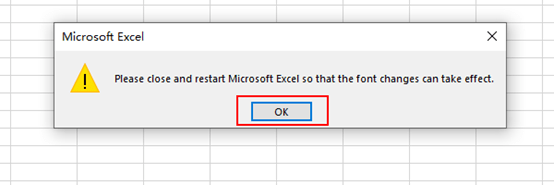
6. Click OK twice, then close and restart the current Excel, so that the font and size changes can take effect. Next time you open up a new workbook in Excel , the default font and size will be automatically displayed.

Leave a Reply