If you are as easy to get tired with a wallpaper as me, or it’s too hard for you to make a choice between several beautiful pictures, why not create a slideshow as your computer wallpaper?
You can enjoy all of these pictures while using the computer, and don’t need to change them manually. Just have a try with following steps:
*This guide is based on Windows 10.
1. Before starting, you can collect some beautiful pictures in a folder as the album for slideshow, and add new pictures to it at any time.
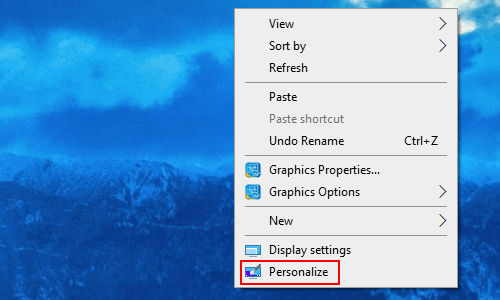
2. Right click anywhere at your desktop and choose Personalize in the menu.
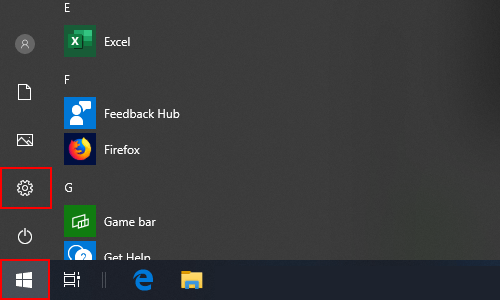
Or hit Start button and click Settings, then choose Personalization in Windows Settings.
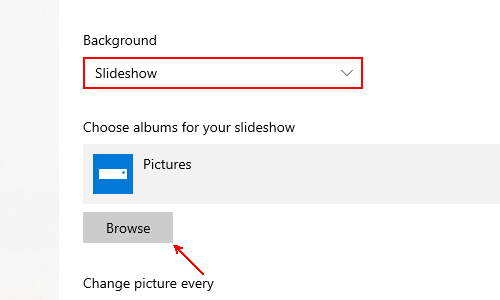
3. Either way you can enter Personalization page and find Background tab. Change the option of Background here from Picture to Slideshow.
4. Now, hit Browse button to Choose albums for your slideshow.
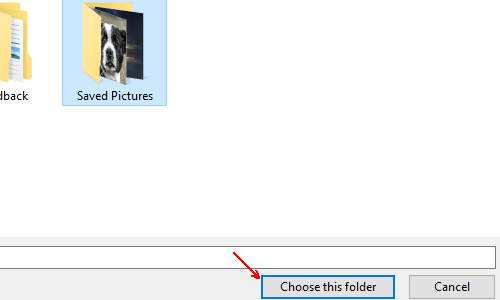
5. Find the folder that containing all the pictures you want to set as wallpapers, select it and hit Choose this folder.
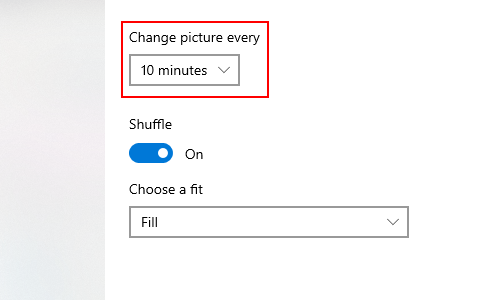
6. Then you can customize the interval between 2 pictures. If you want the wallpaper to change every 10 minutes, then change the setting to Change picture every 10 minutes.
7. You can also enable Shuffle if you want the wallpaper changes randomly among all these pictures.
8. As for the fit style, it’s the most recommended to leave it with the default setting, which is Fill. Thus the pictures will automatically fit your desk size.
After all these settings, you’ve create a wallpaper slideshow for your computer. Just enjoy it!

Leave a Reply