When you use Word to make a form, the header is where the horizontal and vertical rows meet. When there is too much data, inserting a custom slash header is the method to make the whole form clearer and more understandable. So how can we achieve it? Here’s a simple guide.
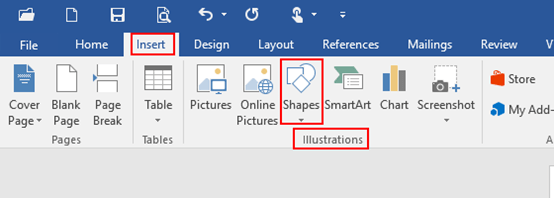
1. First, go to Insert tab, click the arrow of Shapes in IIIustrations group.
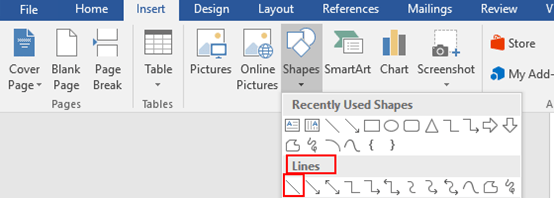
2. In the drop-down box, select straight line symbol, which is under the Lines option.
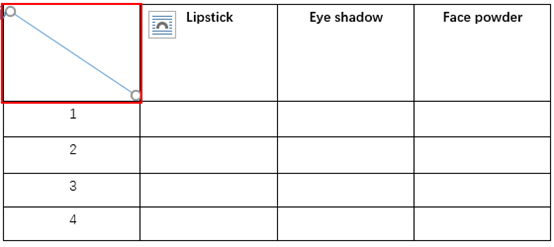
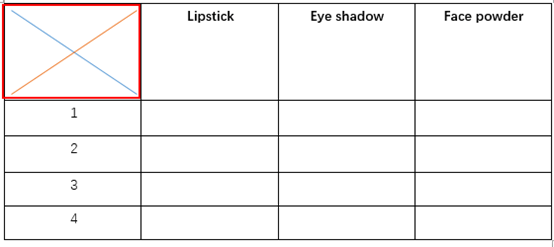
3. Then just select the header, drag your mouse to control the direction, the slash will appear while releasing the mouse.
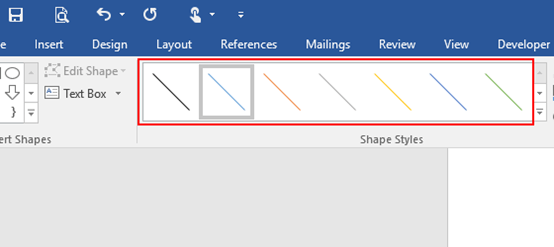
4. If you need more than one slashes, simply repeat the step 1-3, and also you can choose colors for them.
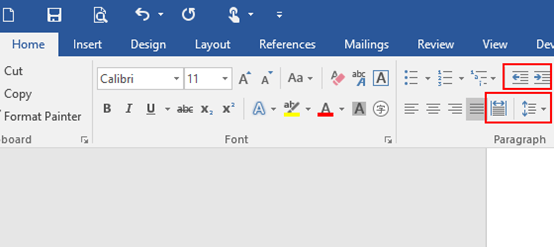
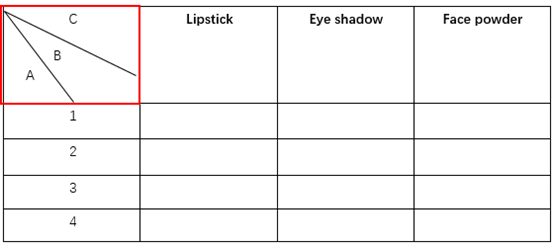
5. You can type text in the header, and use these four buttons to adjust the position of them, which are in the Home tab and Paragraph group.
Note: if you want to delete some specific slashes, just select them and press Delete in your keyboard, only one slash can be removed at a time.

Leave a Reply