When you are reading a long document in Word, dragging the mouse for a long time can make your fingers uncomfortable, especially in winter, everybody wants to put hands in the coat pockets. So how can we achieve it? Here’s a simple guide.
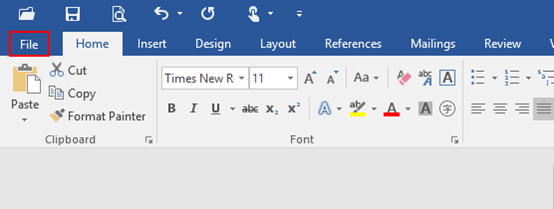
1. Click File in the top left.

2. Click Options in the bottom left.

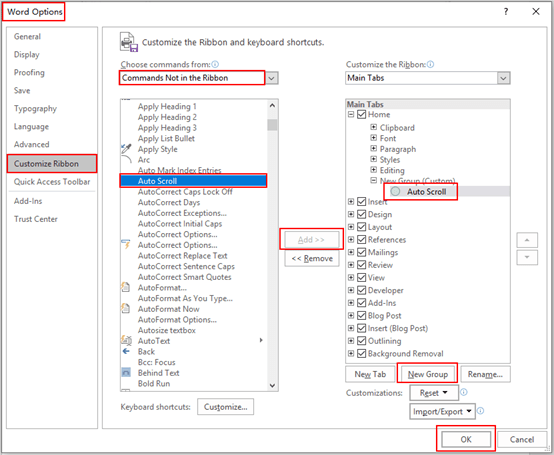
3. The Word Options dialog box will display, go to Customize Ribbon tab, choose Commands Not in the Ribbon and click New Group in the bottom right. Then select Auto Scroll in the drop-down list, hit Add and you will see it has been created in the Main Tabs.

4. Simply click OK, and the Auto Scroll button has been added in the Home tab.


Having read this I thought it was really informative.
I appreciate you finding the time and energy to put this information together.
I once again find myself spending way too much
time both reading and posting comments. But so what,
it was still worthwhile!
You have literally saved my video project! I was wondering how I could use my surface pro pen as a clicker but couldn’t find a way to do it. But thank God this hack is available. Thank you for sharing this tip.
Is there a manual page scrolling device for literal books. Paper and Hard back books