Periodic Scanning is a new security setting in Windows 10, which you can choose to turn on if you use an antivirus program other than Windows Defender, and it is intended to offer an additional line of defense to your existing antivirus program’s real-time protection. Follow this guide, and we’ll show you how to complete it.
1. Click Start icon at the bottom left of the screen, next click Settings icon in the pop-up window.

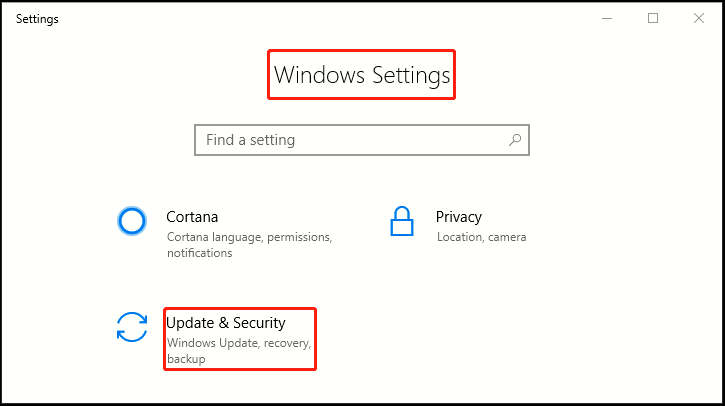
2. The Windows Settings dialog box will display, scroll down and click Update & Security button.

3. Another window of Setting appears, click Windows Security in the left pane, then go to the right pane and click Open Windows Defender Security Center.
4. Note: Windows Defender Security Center is your home to view and manage the security and health of your device.

5. When Windows Defender Security Center dialog box appears, select Virus & threat protection.

6. After page forwarding, click the arrow next to Windows Defender Antivirus options.

7. You can keep using your current provider, and have Windows Defender Antivirus periodically check for threats. Simply turn on the switch under Periodic scanning and now you’ve completed all the steps.


Leave a Reply