The paper greeting cards is not as common as it used be. People nowadays tend to send e-cards by e-mail, which is convenient, fast and environmentally friendly. There are literally tons of templates for greeting cards can be found on Internet, but they are open for everyone, nothing special. If you want an unique greeting card which can show your love and gratitude, why not create one by yourself?
You don’t even need to learn any software for designing. Microsoft Word can already fulfill your basic need to make a card.
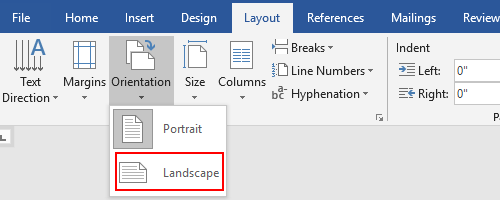
1. The first step is apparently to set the page in Word. Click Layout tab, switch Orientation of page to Landscape.
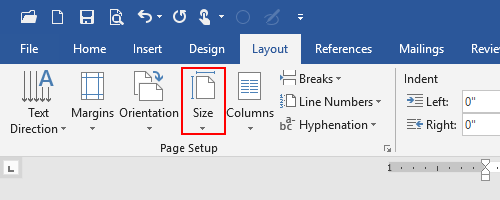
2. Then click Size to choose a template you prefer.
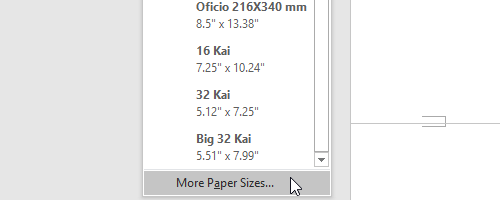
3. If you’re not satisfied with them, click More Paper Size… at the bottom of the drop-down menu.
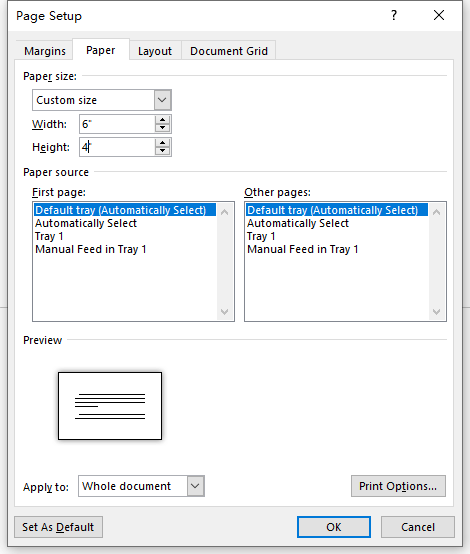
4. You can then customize the paper size in Page Setup window. Click OK to confirm your setting.
5. It’s time to find a beautiful picture that matches the theme. Save it on your computer. Then click Insert – Pictures to insert the picture to your document.

6. Or if you want the picture to fill up the whole page, try setting it as the background. Switch to Design tab, click Page Color – Fill Effect...
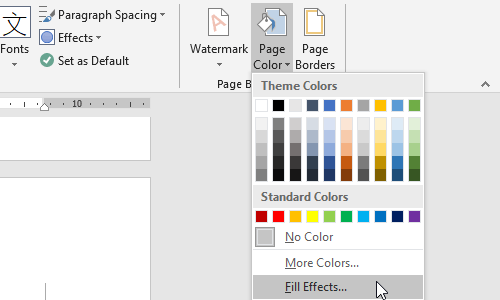
7. Select Picture tab and click Select Picture…
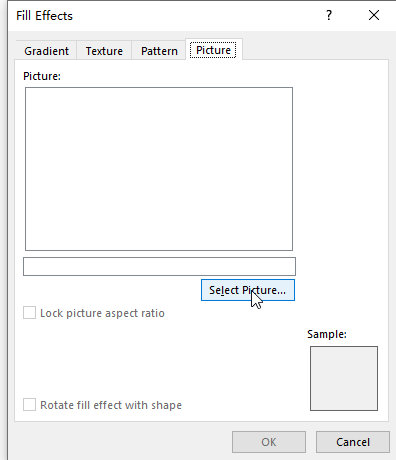
8. Choose From a file. Select the picture you downloaded from Internet and insert it to your document.
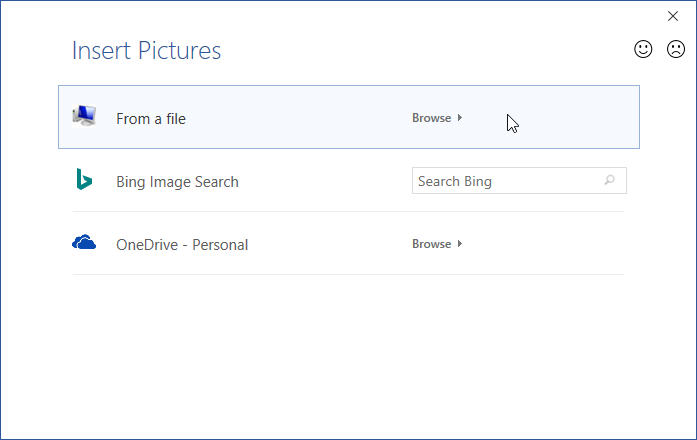
9. You can see the preview below Sample. If it’s good for you, click OK to implement it.
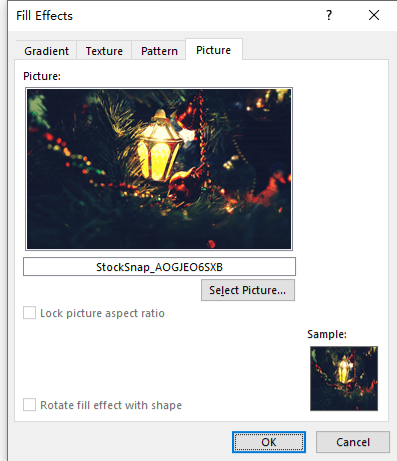
10. Now the picture is set as your background. Switch to Insert tab, click WordArt and select a type you like to insert a textbox.
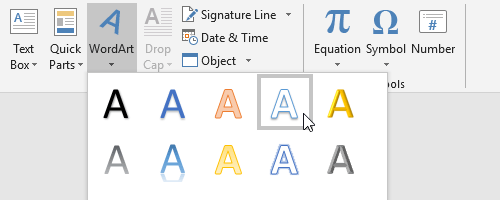

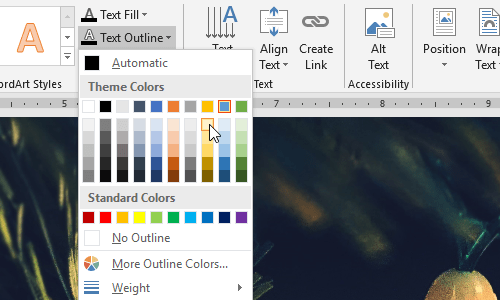
11. Click the textbox to enable the Shape Format tab. You can adjust the color of Text Fill and Text Outline here.
12. For better atmosphere of Christmas, I want this text to glow. So, click Text Effects – Glow to choose a template from Glow Variations.
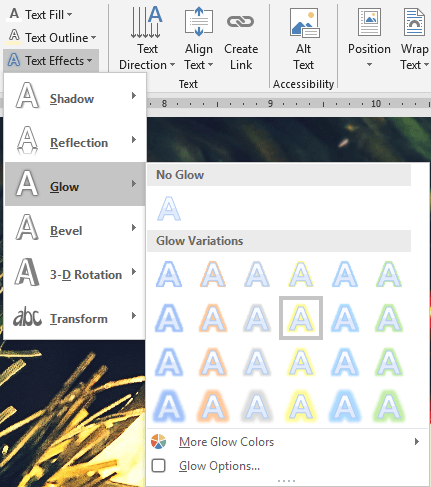
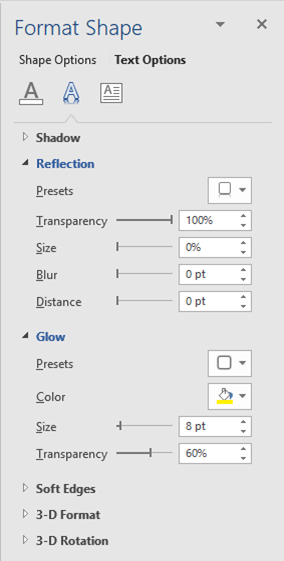
13. You can also hit Glow Options… to enable advanced settings in Format Shape.
14. Select all the content in WordArt textbox, set the font & size of it in the upper-left corner of Word.

15. And finally you can press the border of the text to adjust its location, or drag the rotation arrow above it to rotate the text till it fulfil your need.

16. Now a simple card is done with the only tool – Microsoft Word. I just shared the basic steps. You can still make adjustments to it according to your preference, like adding borders, or changing color tones. Try making an unique greeting card for the one you love!


all the time i used to read smaller articles which also clear their motive, and that is also happening with this article which I am reading now.|
Gabby is the only one ☝☝☝☝☝☝☝☝!
i write proto type greeting cards—–that require the publisher to edit and place words and pictures to their liking.
at this time I have 3 that have never been sent elsewhere—
they are in word ready for email. send a request with email address and ASAP you will be sent these 3 trial get well cards.