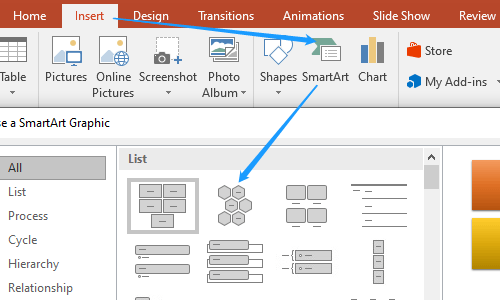
The pictures arranged in a honeycomb looks neat and structured in PowerPoint. To create a honeycomb template, you can simply go to Insert tab, click SmartArt, choose the alternating hexagons and hit OK. But if you want to customize the frame with greater freedom, you can try following steps:

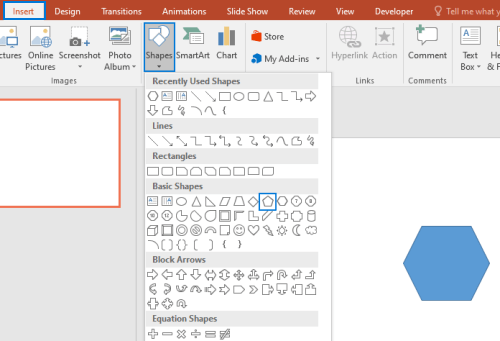
1. Go to Insert tab, click Shapes and choose the hexagon under Basic Shapes.
2. Then you can drag your mouse to draw a hexagon in the slide. If you want it to be a regular hexagon, you can press [Shift] while drawing it.
3. Select the hexagon, press [Ctrl+C] to copy and [Ctrl+V] to paste it. You can create as many hexagons as you like in this way.

4. Drag these hexagons to arrange them to a honeycomb shape.
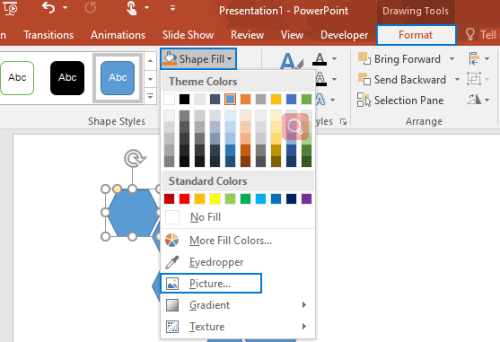
5. Select a hexagon and click Shape Fill in Format (Drawing Tools) tab. Choose Picture… in the menu to insert a picture into the hexagon.
Note: for a better effect, you can adjust the size & shape of these pictures in advance.

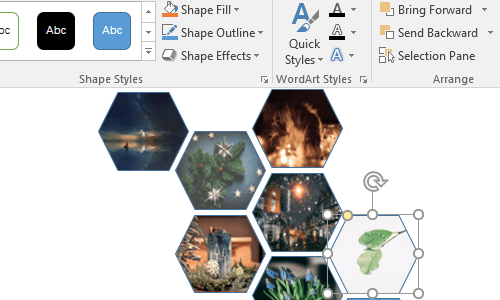
6. After inserting all the pictures, your honeycomb picture is done.


Leave a Reply